In this documentation, you'll learn everything regarding how to receive data using webhooks in FunnelKit Automations.
How to Get a Webhook URL?
Here’s how you can use FunnelKit Automations to get the webhook URL.
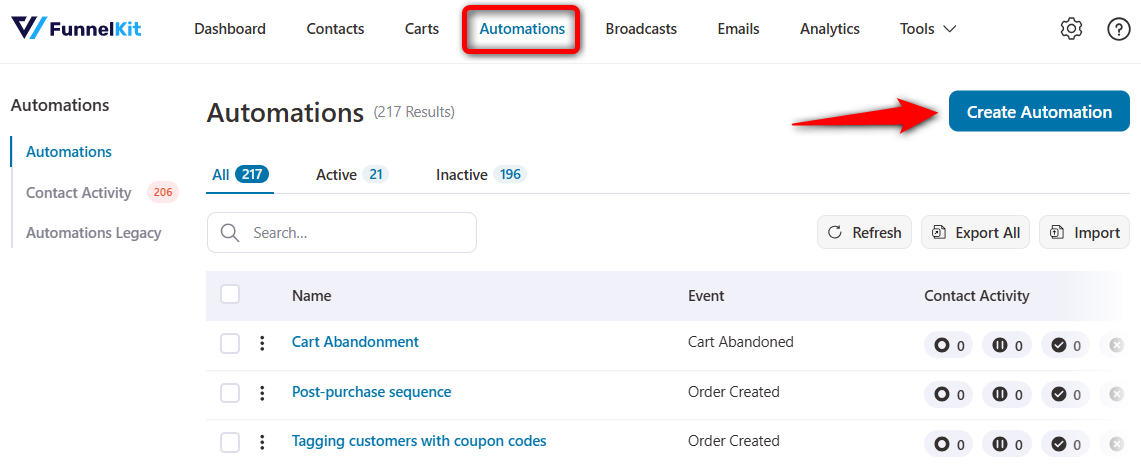
Step 1: Create a new automation
Go to Automations and click on Create Automation.
You'll see many pre-built recipes ready to get imported.
Click on Start from Scratch from there and enter the name of your new automation.
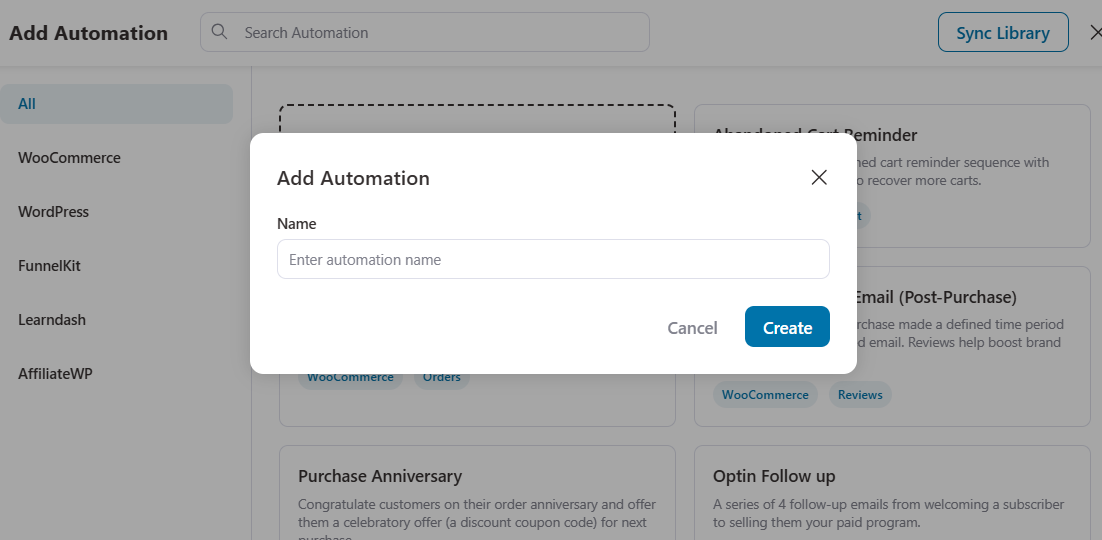
Click on Create.
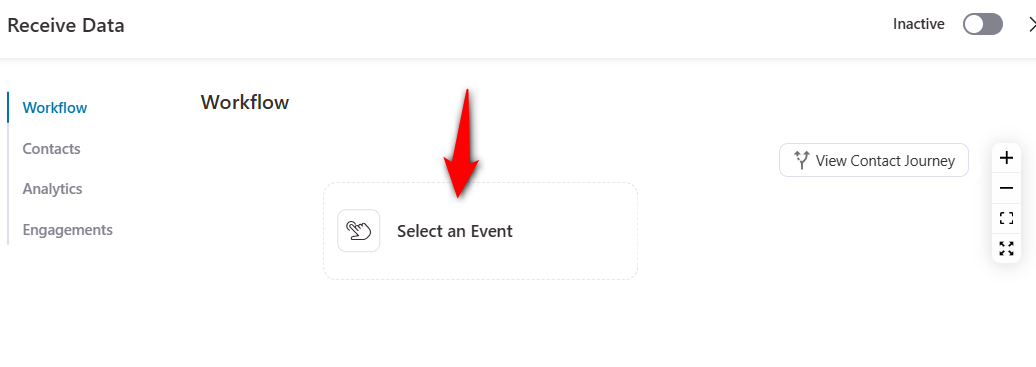
Step 2: Select the event
Click on Select an Event.
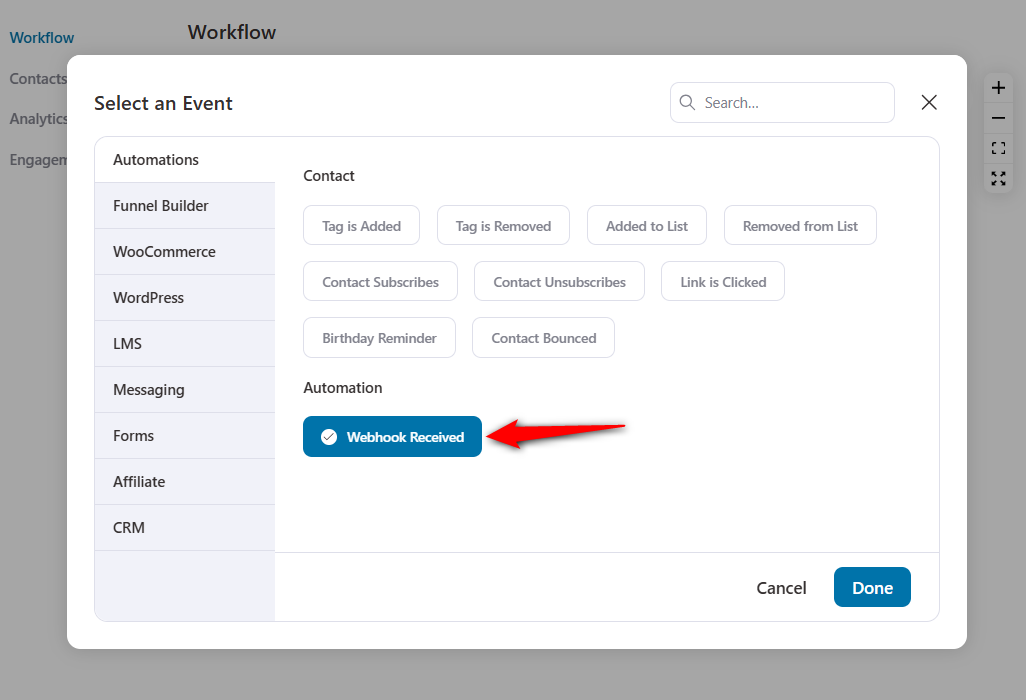
Now, select the event - Webhook received in FunnelKit Automations.
Step 3: Copy the custom webhook URL
Click on the trigger and copy this webhook URL.
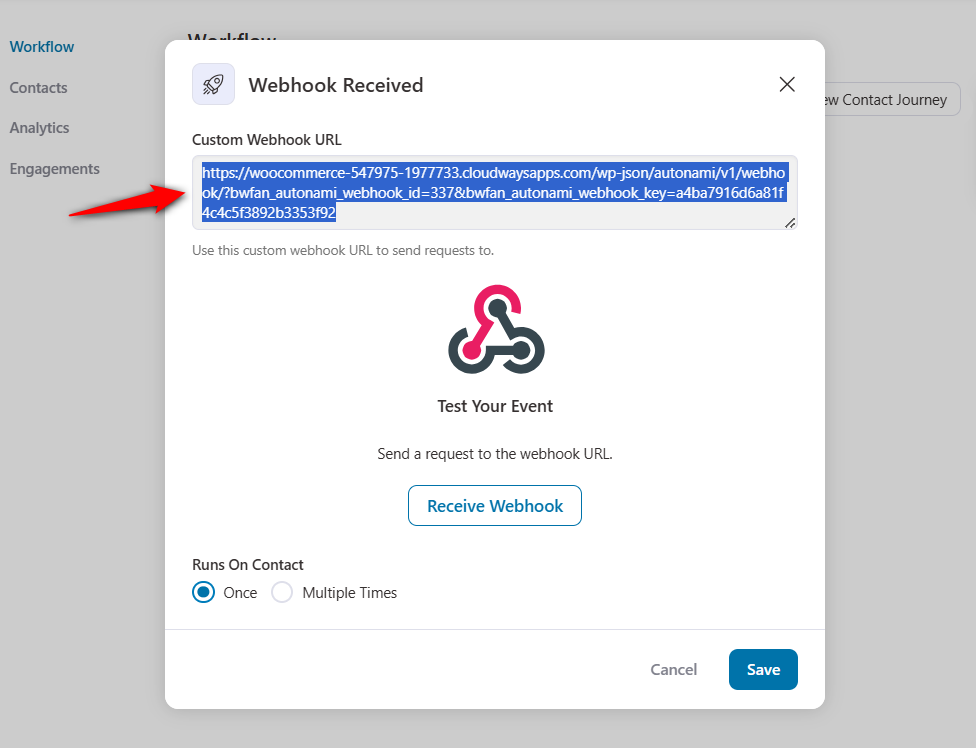
This is how you can get your webhook URL in FunnelKit Automations.
How to receive webhook data?
Once you’ve successfully sent the data through the webhook, here are the step-by-step instructions on how to receive it.
Step 1: Click on Receive Webhook
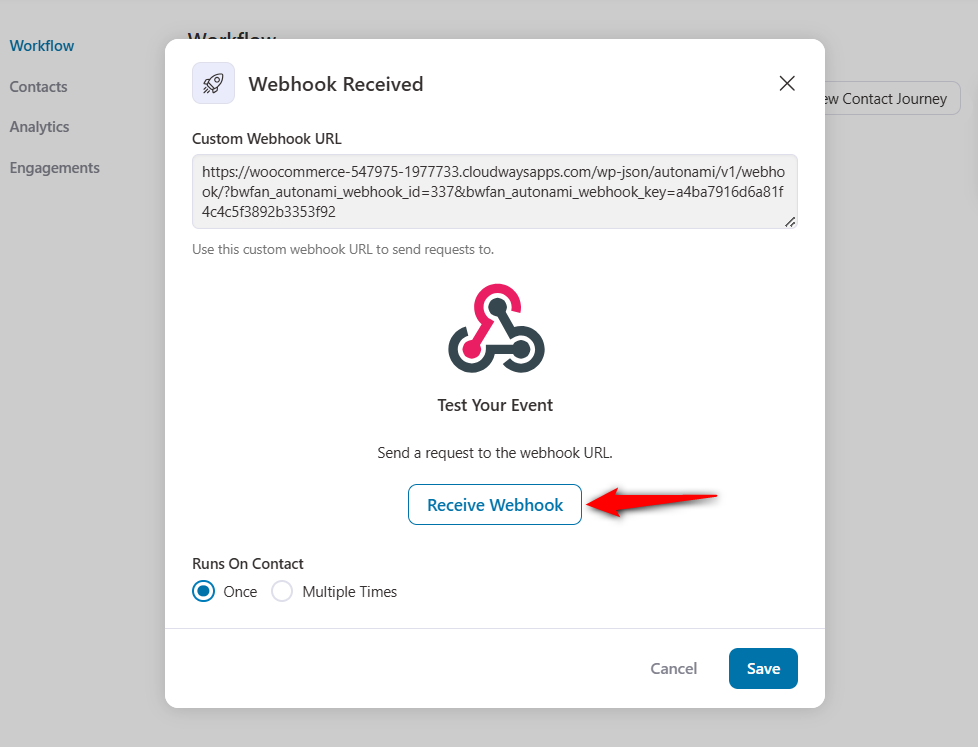
Your data will successfully be fetched here.
Step 2: Map your Email field
As you can see in this example, we have fetched three fields: Email, First Name, and Last Name of our customers.
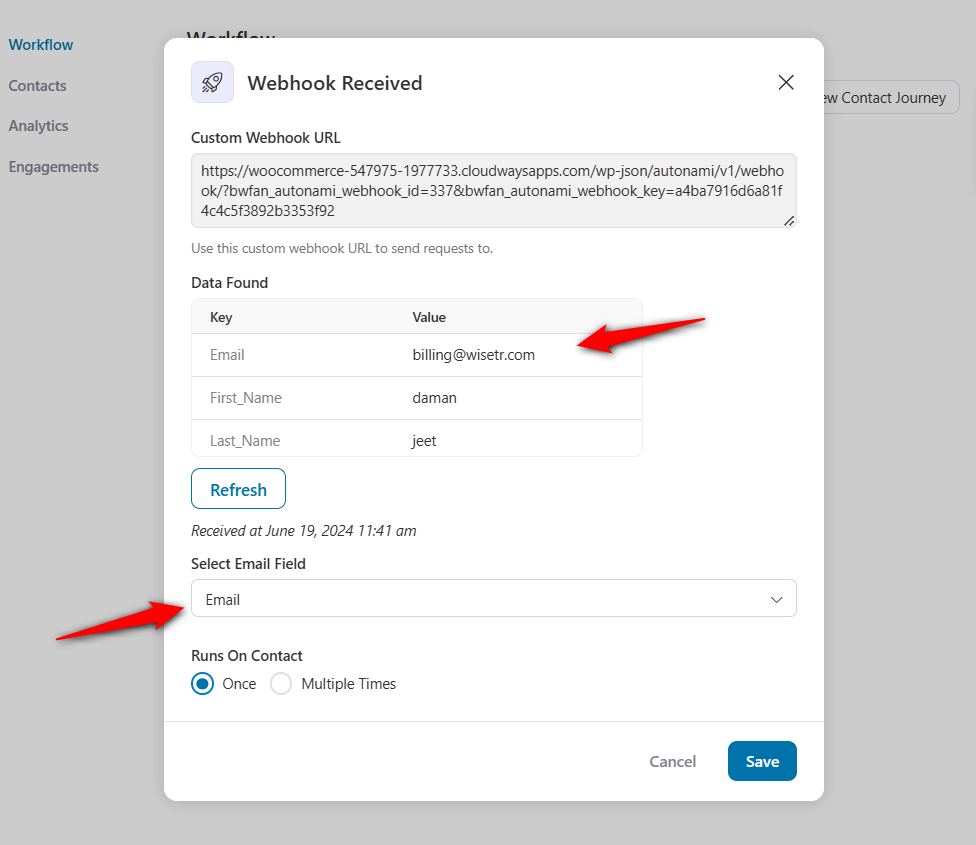
Now that we have successfully received the data, we can perform various Actions within FunnelKit Automations.
How to use webhook data in automation?
Here is an example, we will be creating a user from the webhook data that we received.
Follow the instructions below to create a user using the webhook data:
Step 1: Select an action - Create User
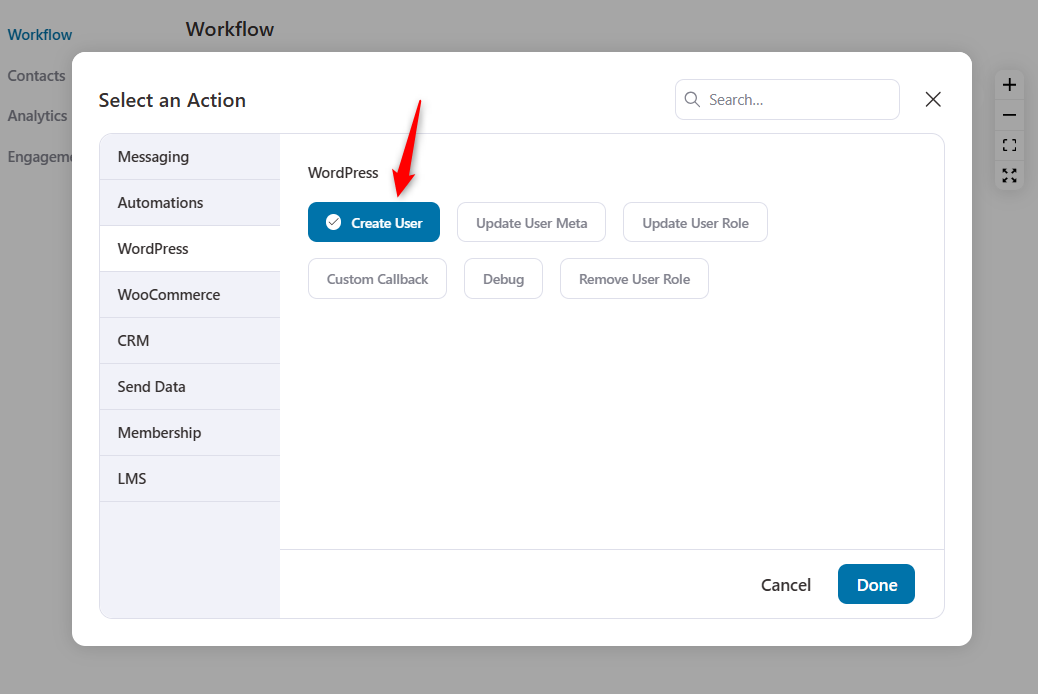
Once done, click on Done.
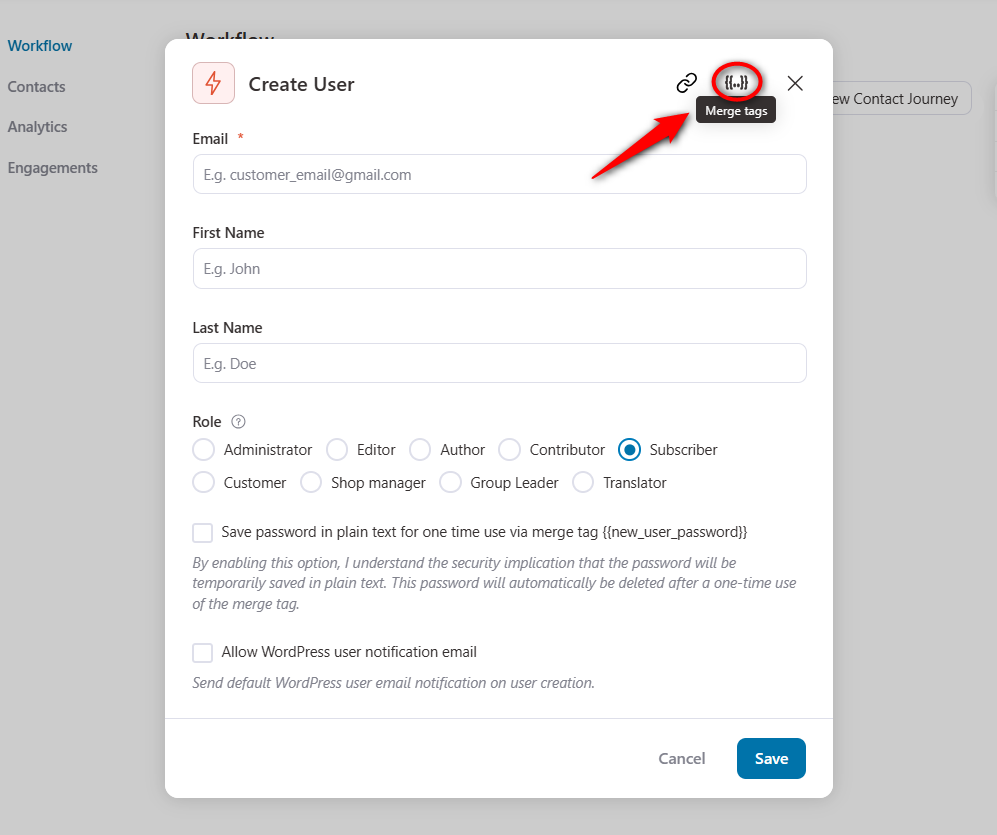
Step 2: Enter the field from the webhook data
Click on Merge tags.
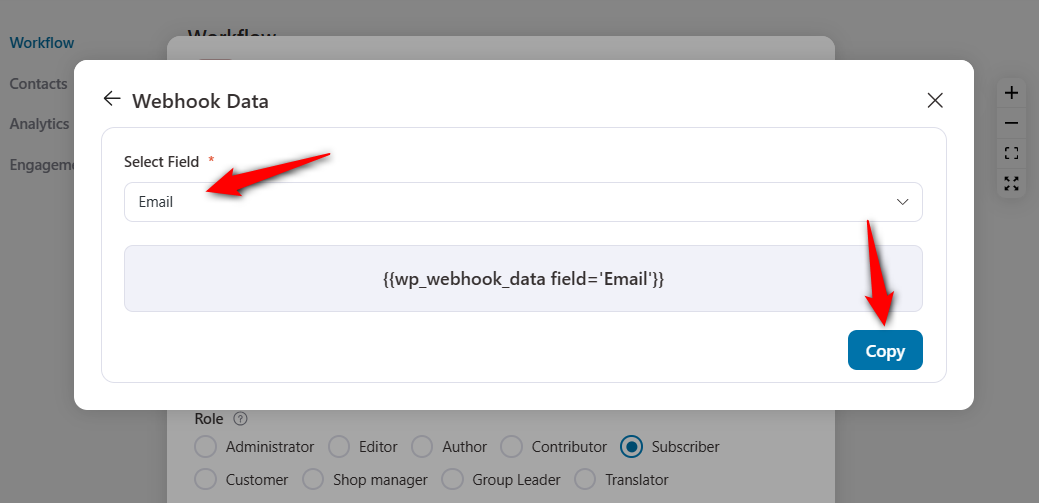
Select your webhook data fields and click on Copy.
Now, paste the merge tags into the respective fields.
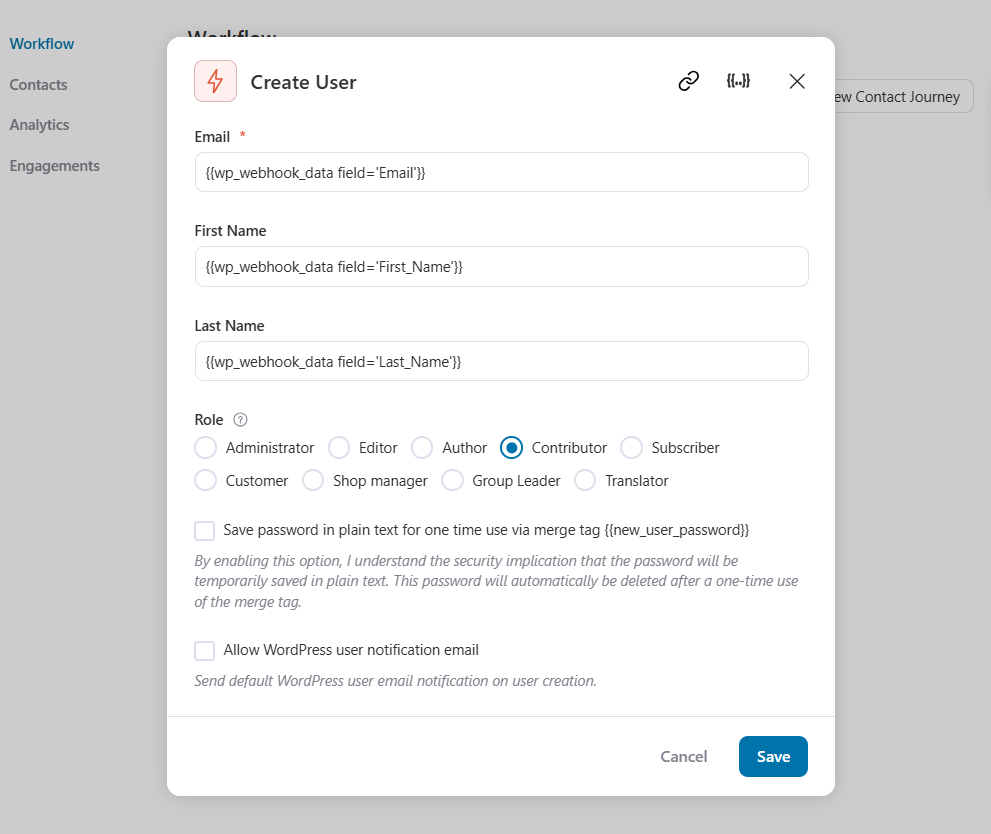
Choose the WordPress role you want to assign and turn on the toggle to make this automation live.
That’s it! You have successfully created a user on your source site from the webhook data received from another application.
This is how you can receive information from another application using FunnelKit Automations webhooks.


